VSCode can be configured to run ESLint on the whole workspace which will enable easier navigation to the file and exact line number where the error is. This article will help you find the right configuration for your use case.
Step 1: Add .eslintrc to your project
I'm assuming your project uses an ESLint config already. Otherwise, I recommend you define one.
If not, here's a way to start.
  npm install --dev eslint
  eslint --init
Step 2: Get the Extension
Step 3: ESLint settings in VSCode
- Tell VSCode to run ESLint on the file when you save the file. Make sure your eslint settings are defined as follows in your
settings.json.
  // settings.json

  "javascript.format.enable": false,
  "typescript.format.enable": false,
  "eslint.format.enable": true,
  "eslint.lintTask.enable": true,
  "editor.codeActionsOnSave": {
    "source.fixAll": true
  },
  "eslint.workingDirectories": [
    {
      "mode": "auto"
    }
  ],
  "eslint.validate": ["javascript", "typescript", "javascriptreact", "typescriptreact"]
Step 4: Configure ESLint Task
While the above steps are sufficient for linting opened files, we need a way to run ESLint run on the whole workspace folder and be able to navigate to the file and exact line where the issue is.
That is where VSCode tasks come in. VSCode tasks help in automating stuff like linting, building by running custom tools and commands.
Run ctrl+shift+p or cmd+shift+p and search for Tasks: Configure Task.

There might already be a default eslint task defined. You can edit the predefined task or add an extra task in the tasks array in the opened tasks.json file.
I am going to replace the tasks.json file with
// .vscode/tasks.json

{
  "version": "2.0.0",
  "tasks": [
    {
      "label": "ESLint",
      "type": "shell",
      "problemMatcher": "$eslint-stylish",
      "command": "yarn lint",
      "windows": {
        "command": "yarn lint"
      }
    },
    {
      "label": "ESLint:fix",
      "type": "shell",
      "problemMatcher": "$eslint-stylish",
      "command": "yarn lint:fix",
      "windows": {
        "command": "yarn lint:fix"
      }
    }
  ]
}
You can replace the command with the full eslint script like eslint .--ext .ts,.tsx. I generally have lint and lint:fix scripts defined in my package.json. So I used yarn lint and yarn lint:fix instead.
// package.json
{
  "scripts": {
    "lint": "./node_modules/.bin/eslint . --ext .ts,.tsx",
    "lint:fix": "./node_modules/.bin/eslint . --ext .ts,.tsx --fix"
  }
}
I recommend keeping them in package.json in case your teammates use different IDEs where VSCode tasks don't work. If they update lint and lint:fix scripts, you don't have to update tasks.json.
The important thing here is the
problemMatcher. It is how VSCode recognizes the ESLint output format and maps them to actual files and line numbers.
VSCode supports $eslint-stylish and $eslint-compact output formats for ESLint tasks with the $eslint-stylish as the default. If you want a different output format, you have to define your own problemMatcher. It's a pain and you probably don't need that anyway.
Step 5: Run the tasks
Now we have ESLint and ESLint:fix tasks available to run on the project.
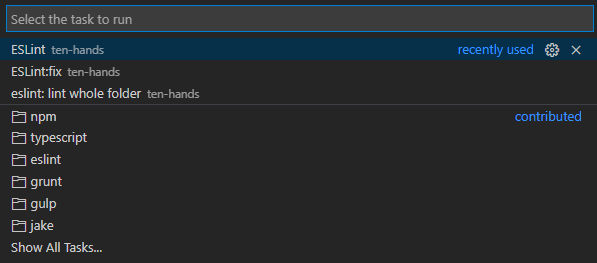
Run ctrl+shift+p or cmd+shift+p and search for Tasks: Run Task.

Choose ESLint task to run.
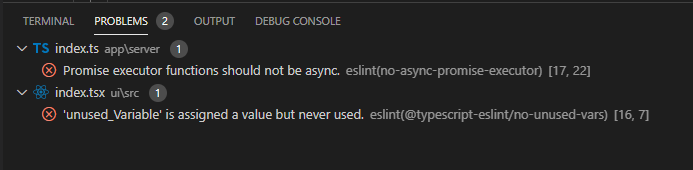
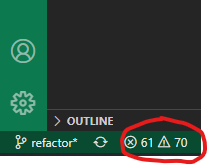
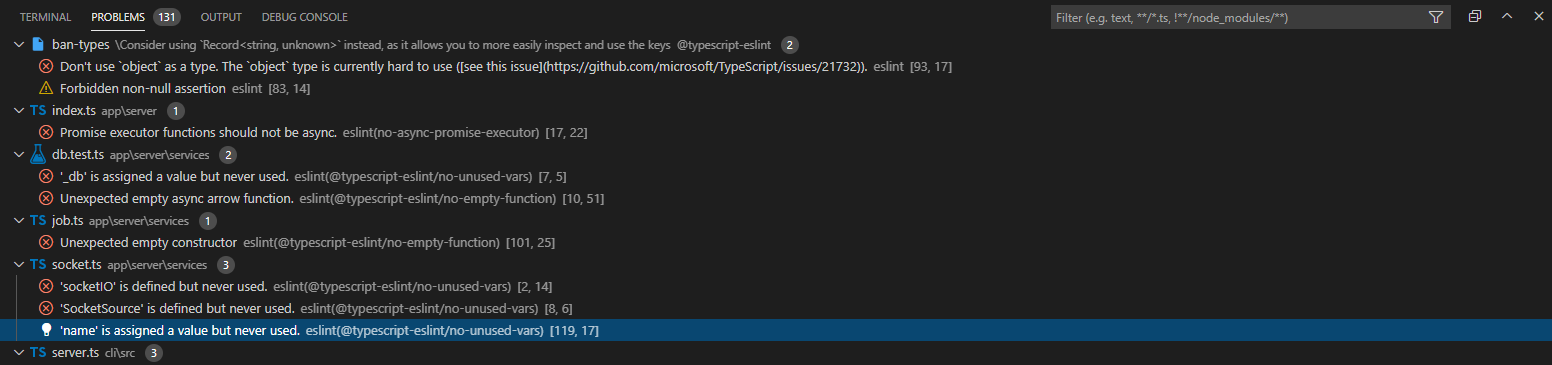
That's it. You can now click and open the problems panel from the bottom left of the VSCode screen.
Hope it helped 🙂. Have a nice day 👋.